
0
Owner's of the Bogen Car Speaker Bogen Communications Car Speaker gave it a score of 0 out of 5. Here's how the scores stacked up:

50 Spring Street, Ramsey NJ 07446
Tel. 201-934-8500, Fax: 201-934-9832
www.bogen.com
54-5043-01 Printed in Korea 9904
© 1999 Bogen Communications Inc. All rights reserved.
Specifications subject to change without notice.
Speaker Installation
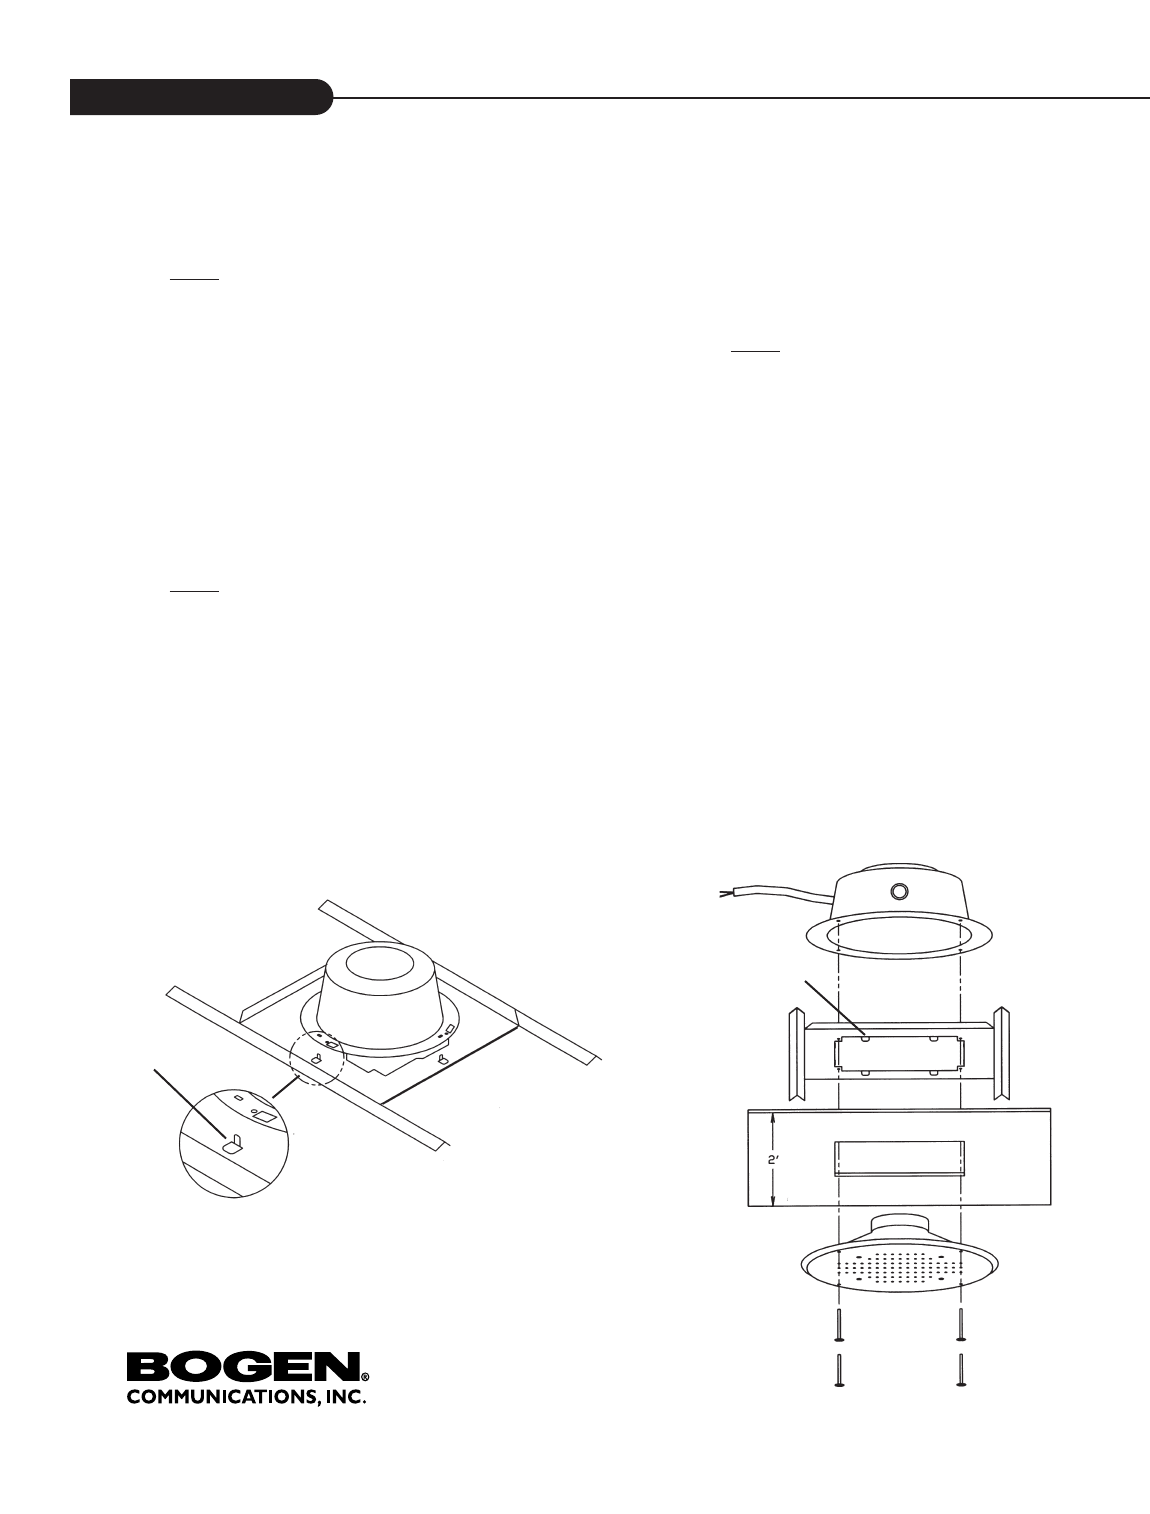
Figure 1
Figure 2
Horseshoe Tab
Locator Tabs
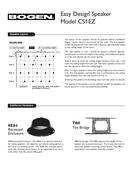
RE84
TB8
CS1EZ
STEP 1 - Remove the tile from ceiling and center the TB8
tile bridge on the back. Use the tile bridge to trace out,
and then cut an 8-1/2” square hole.
NO
TE: It is sometimes more efficient to stack up
a number of ceiling tiles and then cut the speaker
opening in a number of them at once.
STEP 2 - If using the optional RE84 Recessed Enclosure,
bend up the 4 horseshoe tabs (see figure 1 on the TB8).
Position the TB8 over the hole in the tile and push down
the locator tabs (see figure 2).
STEP 3 - Using the 4 supplied screws, attach the CS1EZ
to the TB8 using the 4 clips in the corners of the opening
on the TB8 as nuts.
NO
TE: Only tighten the screws until the grille is
snug against the tile. Over tightening will cause the
screws to dimple the grille.
STEP 4a - If not using RE84 Recessed Enclosure:
Make the electrical connections using the 2 screw terminals
on the CS1EZ. The suggested amplifier connections are:
70V terminal - 70V HOT
COM terminal - 70V COMMON
NO
TE:
The speaker will also work perfectly well with
these connections reversed. However, it is important
to be consistent in the wiring of the speakers in the
system. If adjacent speakers have reversed wiring
connections, they will tend to cancel each other’s bass
response, diminishing the sound quality.
STEP 4b - If using RE84 Recessed Enclosure:
Install an entry fitting to a knock-out in the RE84 to
accommodate the plenum cable. Feed cable through RE84
entry and clamp. Make speaker connections as in 4a. All
connections and any splices must be made within the
enclosure. Place the RE84 over the horseshoe tabs (see
step 2) and twist the tabs with pliers to secure the RE84 to
the TB8.
STEP 5 - Place the assembled ceiling tile back into the
ceiling.


Find Your Products By Category
- TV and Video
- Communications
- Personal Care
- Portable Media
- Computer Equipment
- Home Audio
- Household Appliance
- Car Audio and Video
- Kitchen Appliance
- Fitness & Sports
- Musical Instruments & Equipment
- Power Tools
- Marine Equipment
- Lawn and Garden
- Automotive
- Photography
- Video Game
- Laundry Appliance
- Outdoor Cooking
- Baby
- Cell Phone
Please Login
