
1.0
Owner's of the Cobra Electronics Marine Radio COBRA MARINE gave it a score of 1.0 out of 5. Here's how the scores stacked up:

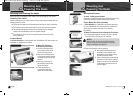
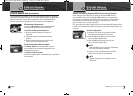
Set-Up Routines
31
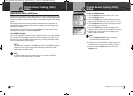
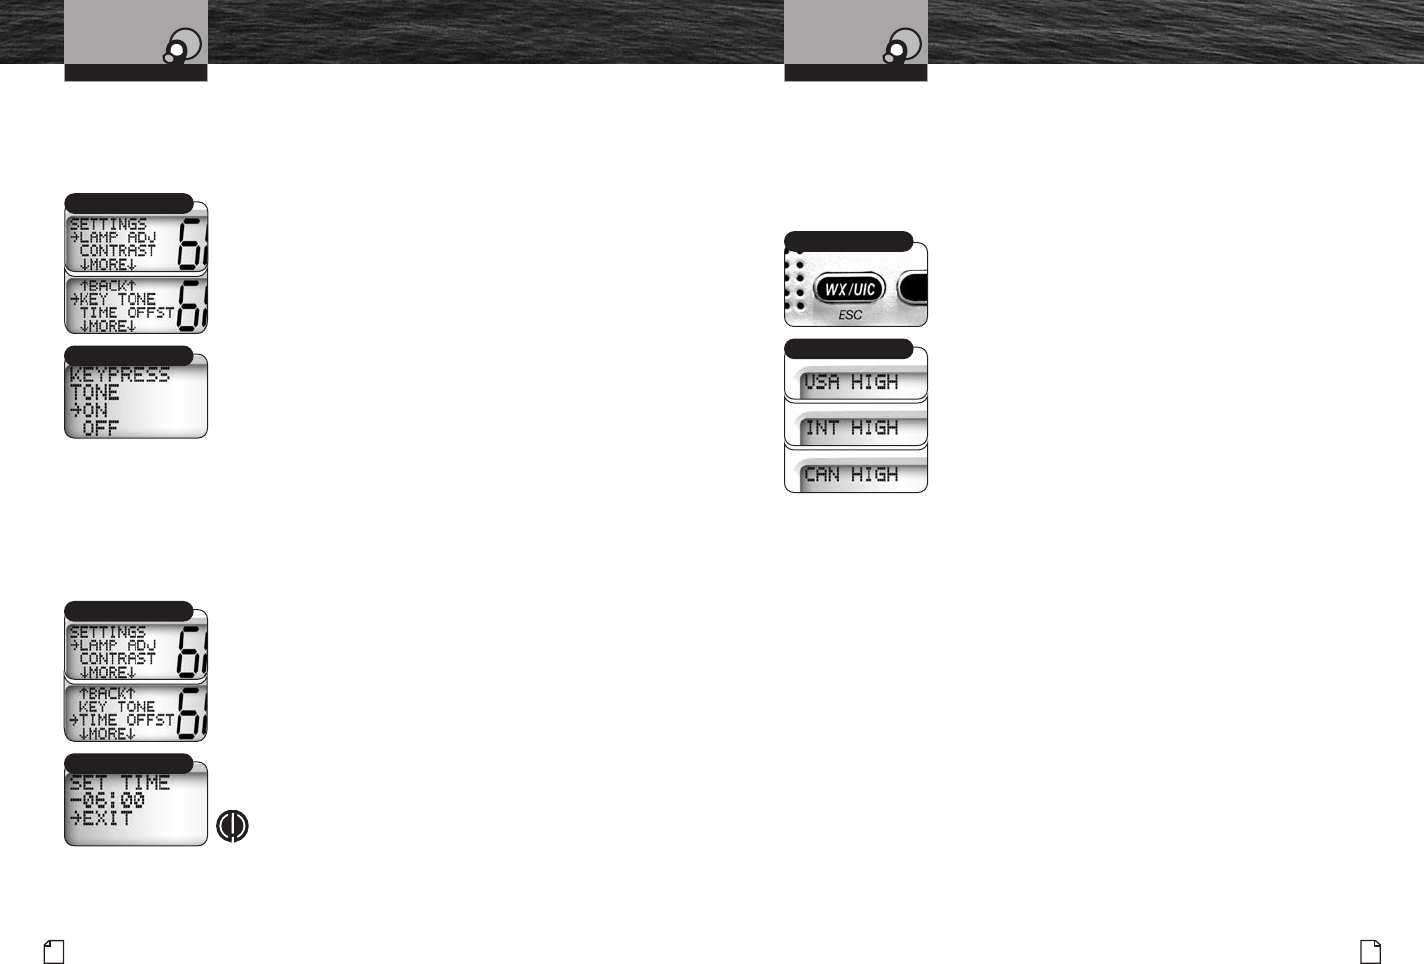
U.S.A./International/Canada Channel Maps
Three (3) sets of VHF Channel Maps have been established for marine use in the
U.S.A., Canada, and the rest of the world (International). Most of the channels
are the same for all three (3) maps, but there are definite differences (see table
on pages 14 through 23). Your radio has all three (3) maps built into it and will
operate correctly in
whichever area you choose.
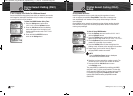
T
o Set Your Radio For The Area In Which
You Will Be Using It:
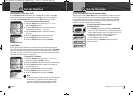
1. From Standby mode, press and hold the Weather/UIC
button. The radio will shift one (1) channel map and the
active channel map will show on the top line of the LCD.
2. Repeat step 1 to shift to the next channel map(s)
in the sequence
USA, INT (International),
CAN (Canada) then back to USA.
The radio will return to Standby mode each time the
button
is released.
Operating Your Radio
Weather/UIC Button
Active Channel Map
Nothing Comes Close to a Cobra
®
30
English
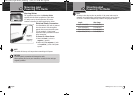
Set-Up Routines
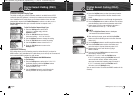
Confirmation Tone (Key Tone)
The Confirmation Tone sounds when your CobraMarine VHF radio is turned On
and to confirm all button presses except for the Talk button. If you would prefer
not to hear the Confirmation Tone, you can turn it Off and On as you choose.
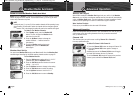
To Turn The Confirmation Tone On Or Off:
1. Enter the Settings menu and scroll to
KEY TONE
with the Up/Down buttons.
2. Press the Call/Set button and observe the current
confirmation tone setting —
ON or OFF.
3. Use the Up/Down buttons to switch to the setting
you want.
4. Press the Call/Set button to select the setting.
5. Use the Up/Down buttons to scroll to
EXIT.
6. Press the Call/Set button to return to Standby.
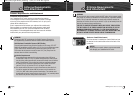
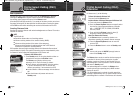
Time Offset
All VHF, DSC, and GPS activities use a 24-hour clock and Coordinated Universal
Time (UTC) which was formerly known as Greenwich Mean Time (GMT). Time Offset
uses
your connected GPS to gather time inputs. For time inputs to be converted to
local time, you need to enter the hour offset of your local time zone from Greenwich.
(See world city time zone chart on page 24.)
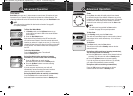
To Change The Time Offset:
1. Enter the Settings menu and scroll to
TIME OFFST
(time offset) with the Up/Down buttons.
2. Press the Call/Set button
and observe the current setting.
3. Use the Up/Down buttons to change to the setting for
your local time zone.
4. Press the Call/Set button to select the setting.
5. Use the Up/Down buttons to scroll to
EXIT.
6. Press the Call/Set button to return to Standby.
NOTE
If you leave the time offset at zero (0), the LCD will show
the time as UTC. If you enter the hour offset for your
time zone, t
he LCD will show the local time. In either
event, DSC messages will always be based on UTC.
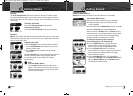
Operating Your Radio
On/Off
Set Time
Time Offset
Key Tone
F45D_Operation_Eng:8186-F55_Operation-Eng 11/23/10 10:49 AM Page 40


Find Your Products By Category
- TV and Video
- Communications
- Personal Care
- Portable Media
- Computer Equipment
- Home Audio
- Household Appliance
- Car Audio and Video
- Kitchen Appliance
- Fitness & Sports
- Musical Instruments & Equipment
- Power Tools
- Marine Equipment
- Lawn and Garden
- Automotive
- Photography
- Video Game
- Laundry Appliance
- Outdoor Cooking
- Baby
- Cell Phone
Please Login
