
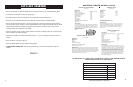
4.1
Owner's of the Masterbuilt Smoker 20070910 gave it a score of 4.1 out of 5. Here's how the scores stacked up:

8
7
SOME PARTS NOT SHOWN FOR
CLARITY
.
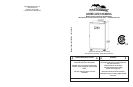
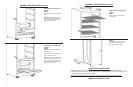
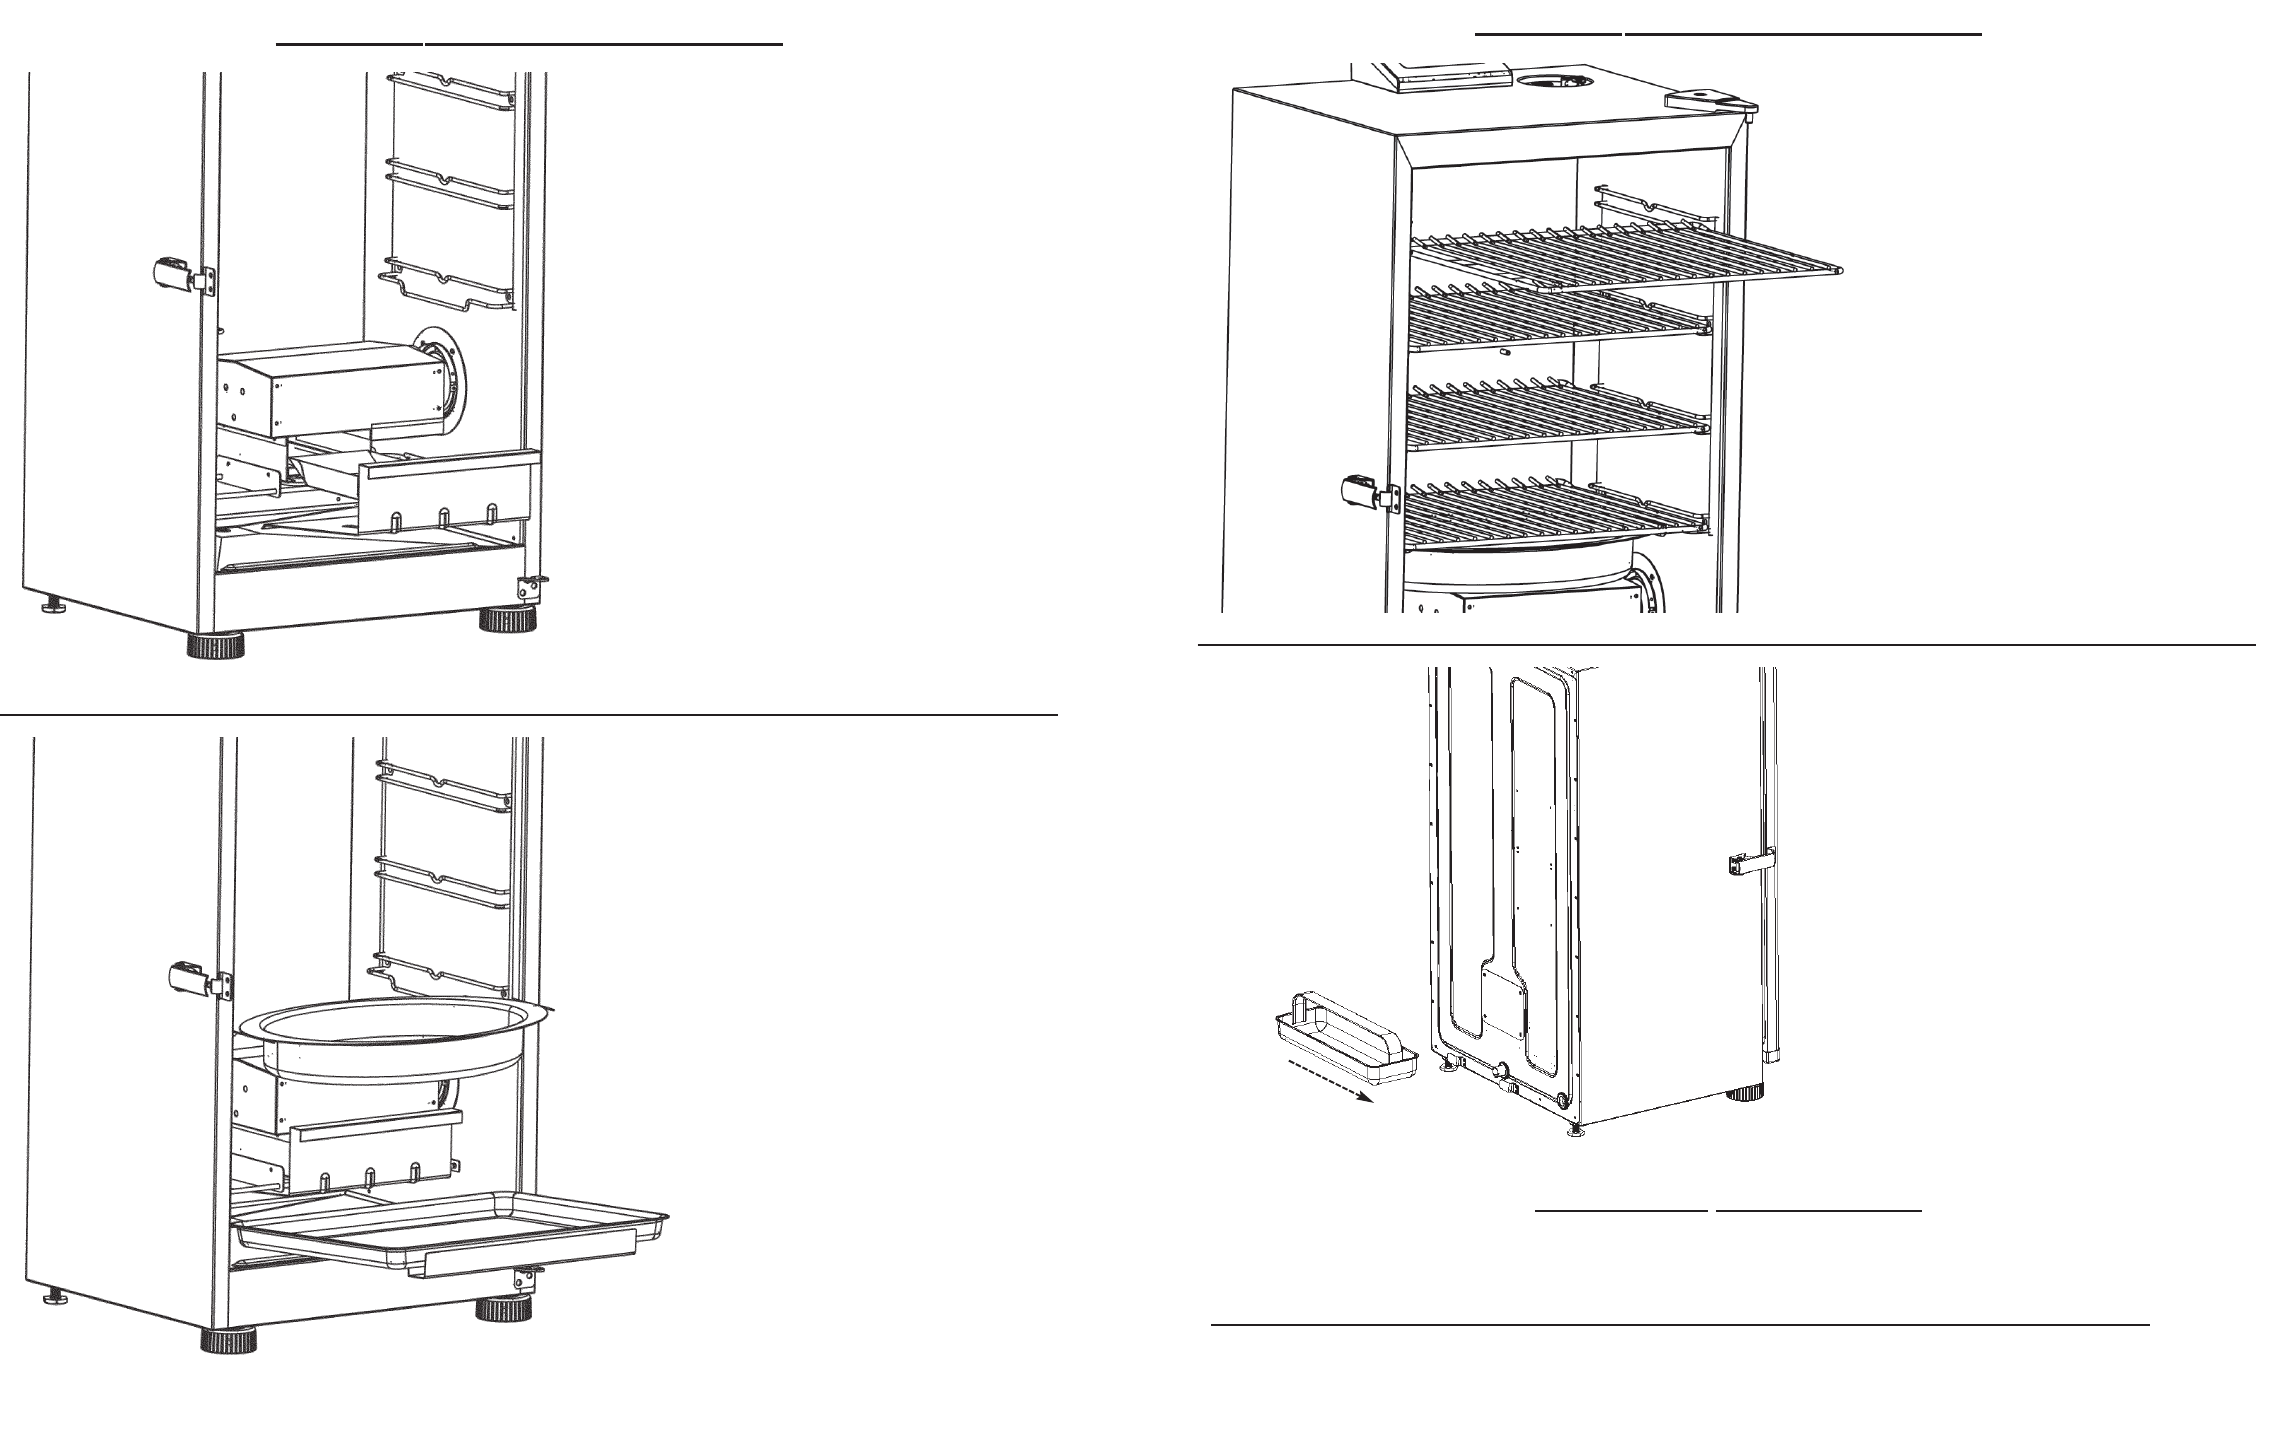
Step 7
Slide cooking racks onto guides
inside smoker.
Step 8
Slide brackets on back of grease
tray onto tabs on back of smoker
body until grease tray stops.
SMOKER IS READY TO USE
ASSEMBLY INSTRUCTIONS Continued
SOME PARTS NOT SHOWN FOR
CLARITY
.
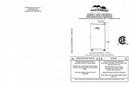
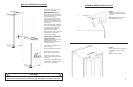
Step 6
Place water bowl onto lower bracket
inside smoker.
Place drip tray inside smoker below
heating element as shown.
Note: Water bowl must always be in
place during smoking process, even
if there is no water or other liquid in
bowl. Bowl will prevent food from
dripping onto wood chips.
SOME PARTS NOT SHOWN FOR
CLARITY
.
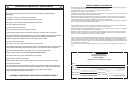
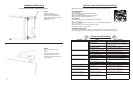
Step 5
Place wood chip holder in smoker as
shown.
Note: Wood chip holder and wood
chip loader MUST be in place when
using smoker. This minimizes the
chance of wood flare ups.
PRESEASON INSTRUCTIONS
Preseason smoker prior to first use. Make sure water pan is in place with NO WATER. Set
temperature to 275°F (135°C) and run unit for 3 hours. Shut down and allow to cool. Some smoke
may appear during this time, this is normal.
During last 45 minutes, add 1 cup of wood chip
s in chip loader to complete preseasoning.
ASSEMBLY INSTRUCTIONS Continued


Find Your Products By Category
- TV and Video
- Communications
- Personal Care
- Portable Media
- Computer Equipment
- Home Audio
- Household Appliance
- Car Audio and Video
- Kitchen Appliance
- Fitness & Sports
- Musical Instruments & Equipment
- Power Tools
- Marine Equipment
- Lawn and Garden
- Automotive
- Photography
- Video Game
- Laundry Appliance
- Outdoor Cooking
- Baby
- Cell Phone
Please Login
