
4.0
Owner's of the Chamberlain Intercom System WIRELESS PORTABLE INDOOR/OUTDOOR INTERCOM gave it a score of 4.0 out of 5. Here's how the scores stacked up:
2
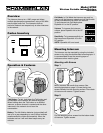
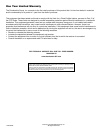
Step 1
Peel off white paper from mounting tape. Firmly
press mounting tape on back of intercom.
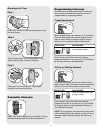
Peel paper from mounting tape. Firmly press
intercom onto mounting surface.
Clean back of intercom and mounting surface using
the alcohol wipe.
Mounting with Tape
Step 2
Step 3
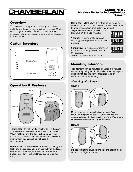
Assemble Intercom
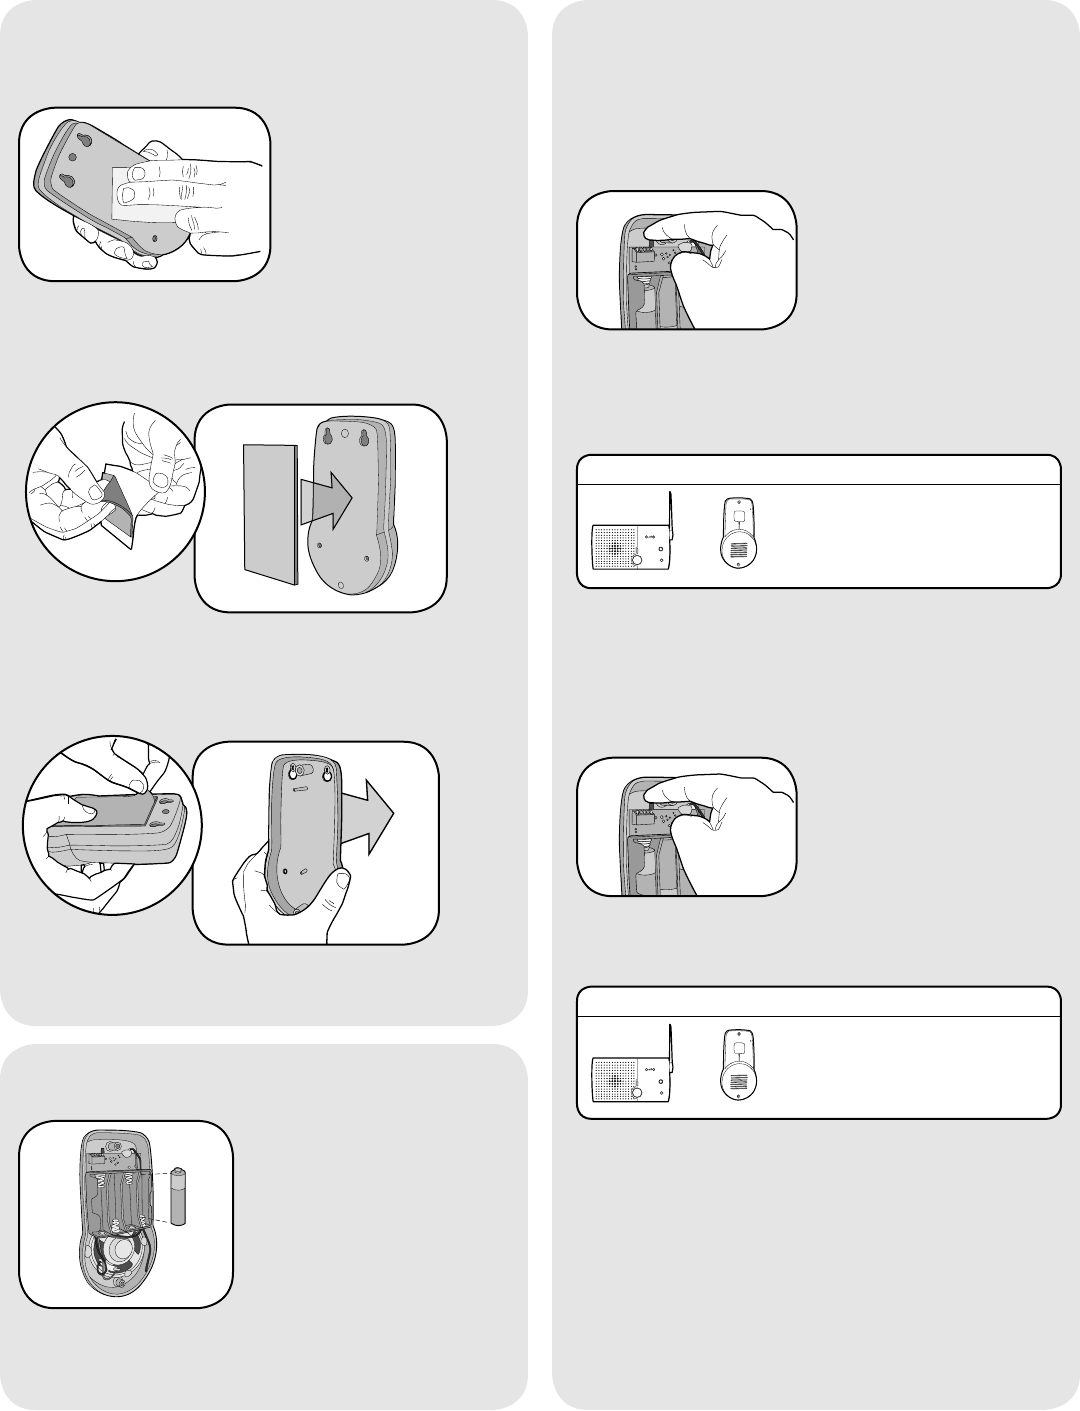
Create New Network
The intercom must be programmed to at least one
other intercom to become a network or it can be
programmed into an existing network.
Before programming, clear memory on all intercoms.
Press the Learn button on the new intercom until a
beep is heard. Within 10 seconds put the second
intercom into Learn Mode (refer to table below).
Add to an Existing Network
Each intercom will emit a tone when entering
programming mode. It may take up to 3-1/2 minutes
for a secure network to be established. Repeat for
any additional intercoms.
NOTE: Do not program new intercoms to each other
before adding them to the network or they will form a
separate network and the memory will need to be
cleared.
Install 4 AA Alkaline batteries (not provided). (Lithium
batteries recommended for colder environments.)
Programming Intercom
Each intercom will emit a tone when entering
programming mode. It may take up to 3-1/2 minutes
for a secure network to be established.
INTERCOM LEARN MODE
Press the Learn button
until a beep is heard.
OR
Press the Learn button on the new intercom until a
beep is heard. Within 10 seconds put any networked
intercom into Learn Mode (refer to table below).
INTERCOM LEARN MODE
Press the Learn button until
a beep is heard.
OR
HOLD
ACTIVE
TALK
13
24
VOLUME
MONITOR
CHANNEL
OFF
HOLD
ACTIVE
TALK
13
24
VOLUME
MONITOR
CHANNEL
OFF


Find Your Products By Category
- TV and Video
- Communications
- Personal Care
- Portable Media
- Computer Equipment
- Home Audio
- Household Appliance
- Car Audio and Video
- Kitchen Appliance
- Fitness & Sports
- Musical Instruments & Equipment
- Power Tools
- Marine Equipment
- Lawn and Garden
- Automotive
- Photography
- Video Game
- Laundry Appliance
- Outdoor Cooking
- Baby
- Cell Phone
Please Login
