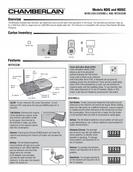

0
Owner's of the Chamberlain Intercom System NDIS gave it a score of 0 out of 5. Here's how the scores stacked up:
2
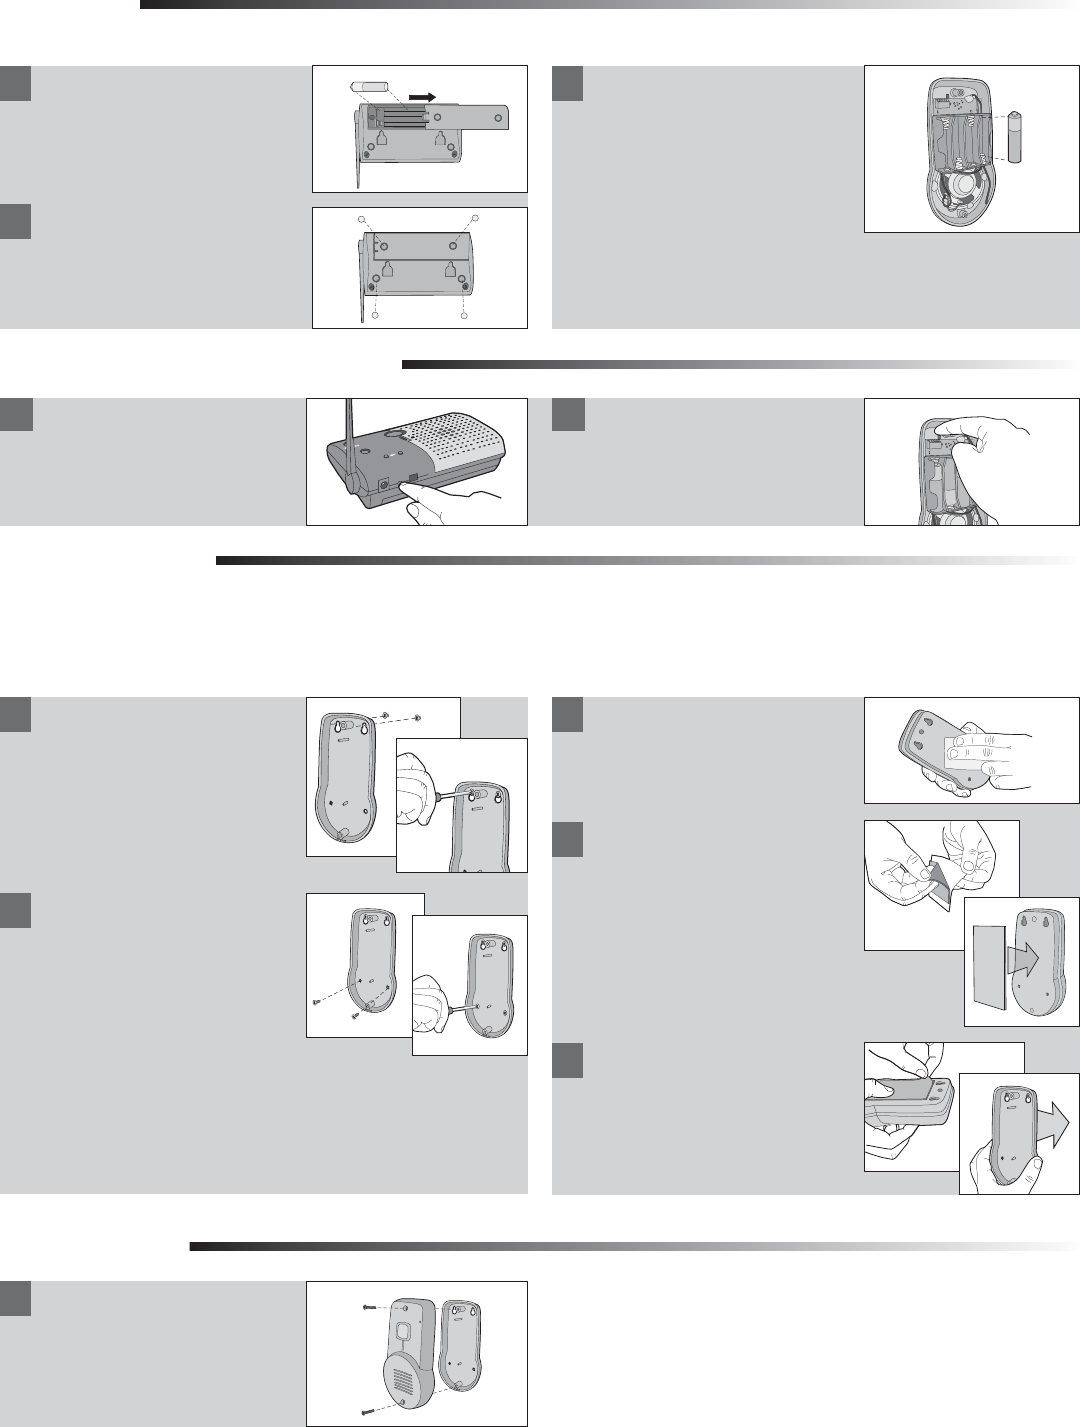
Assemble
Install 4 AA Alkaline batteries
(not provided). (Lithium
batteries recommended for
colder environments.)
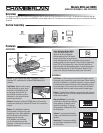
DOORBELL
Program Intercom to Doorbell
Press the Learn button on the
intercom until a beep is heard.
Mount Doorbell
Mount doorbell with small
silver screws. Screw the top
two screws halfway into the
mounting surface. Place back of
doorbell over screws. Tighten
screws.
The doorbell can be mounted by using the included screws or by using the double-sided mounting tape. It is recommended to use the
mounting tape on surfaces such as metal or glass.
MOUNTING WITH SCREWS
Put the remaining silver screws
into the bottom holes of
doorbell. Tighten screws.
MONITOR
HOLD
OFF
1
3
2
4
VOLUME
TALK
ACTIVE
Within 10 seconds press the
Learn button on the doorbell
until a beep is heard.
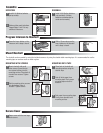
Peel off white paper from
mounting tape. Firmly press
mounting tape on back of
doorbell.
Peel paper from mounting tape.
Firmly press doorbell onto
mounting surface.
Clean back of doorbell and
mounting surface using the
alcohol wipe.
MOUNTING WITH TAPE
Secure cover with the two large
black screws.
Secure Cover
1 2
INTERCOM
Install 4 AA Alkaline batteries
(not provided).
Adhere rubber pads to bottom.
Repeat Steps 1 and 2 for any
additional intercoms.
1
2
1
1
2
1
2
3
1


Find Your Products By Category
- TV and Video
- Communications
- Personal Care
- Portable Media
- Computer Equipment
- Home Audio
- Household Appliance
- Car Audio and Video
- Kitchen Appliance
- Fitness & Sports
- Musical Instruments & Equipment
- Power Tools
- Marine Equipment
- Lawn and Garden
- Automotive
- Photography
- Video Game
- Laundry Appliance
- Outdoor Cooking
- Baby
- Cell Phone
Please Login
